Showing posts with label project. Show all posts

Tuesday, April 30, 2013

the coop

 So I wanted to wait until the coop was completely finished, but I can't wait.  
This is what it looks like right now.  
It is turning out so good.  My husband is pretty amazing. 
This is being built without any plans.  We had a small area to work with and the coop had to be built around a few obstacles. 
  Ella sizing it up. 
It's pretty much 8ft x 7ft minus the little cutout for the tree.  The other obstacle is the cable that anchors the power line pole behind us.  

 Good thing Andy had quite a few helpers.
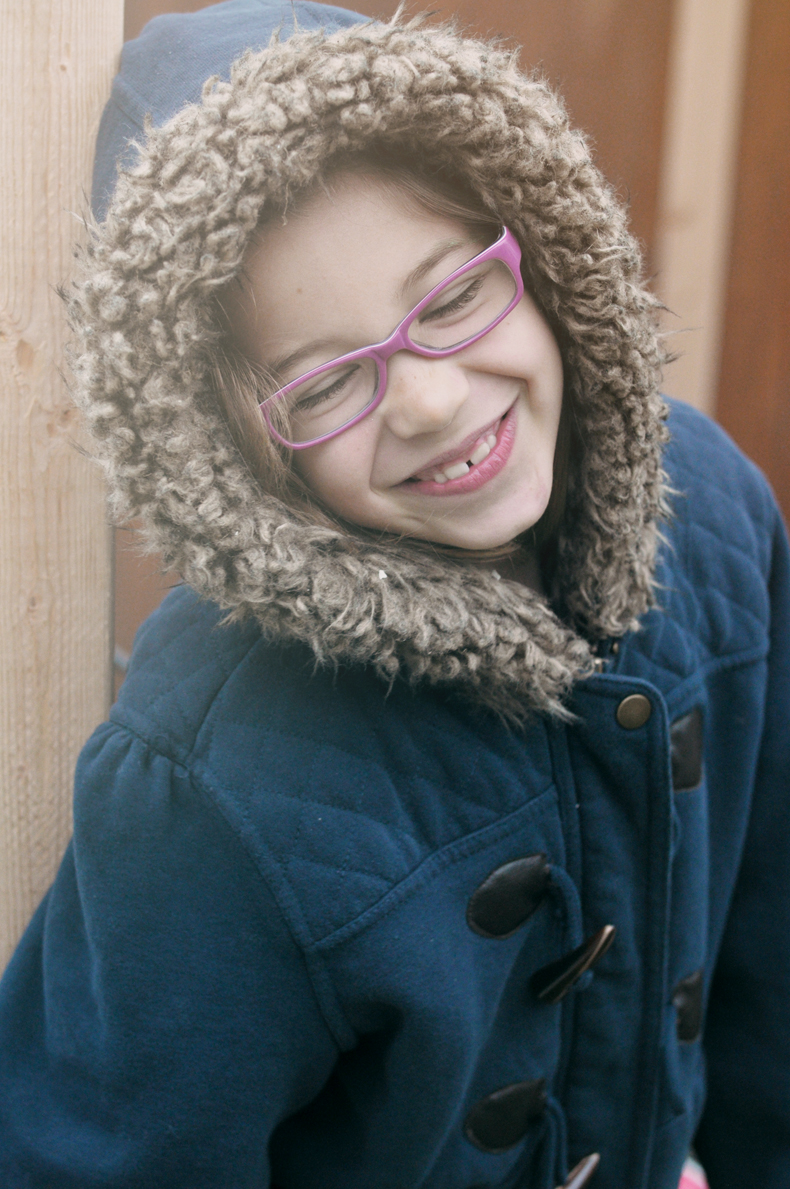
 And they are pretty cute.
 They wanted to help also, but they had a hard time holding the wood up while it was being drilled together.
 During the day, the chicks are either running around the yard when we are out there with them, or else in their coop.  
We have just been wrapping the chicken wire around the coop for now.  The bricks on the roof are used to hold the tarp that hangs over the edge.  
A few weeks ago while we were in the backyard a falcon landed on the back wall and I'm pretty sure he was thinking about swooping up a nice little meal.  He relocated to a nearby tree after Julian scared him away, but he stayed hanging out for a couple of hours until we took the chicks in.  So the tarp is just to keep our falcon friend away.  
Here is where we we hopefully be getting our eggs from. 

It's getting so close to being done. 
Just a couple more things need to be done.
The entry door needs to be made.  
The door and slider for the hen house needs to be made.
Painting.
Roofing it.
Getting all the chicken wire in...
then I think it will be done.
So close.

Friday, March 1, 2013

Concrete Pots

 The last couple of days have been warm and sunny.

I'm feeling spring around the corner and a need to plant. 
 I mentioned a while about wanting to make cement pots.  The pots were made but I didn't make them.  

Andy kind of took over my project and made all of these pots for me.  
Yea!!  
He always laughs when I talk about anything on pinterest.  He just doesn't get it.  I have tried explaining.  Nope, he doesn't agree that it's a brilliant site.  Anyhow, I told him about these pots I was going to try to make.  He kind of laughed and said they probably wouldn't work.   We googled cement pots and found tons of sites about how to make them.  He decided he would help me.  We collected a bunch of different sized buckets and containers.  Next thing I knew, he was making them...on his own.  The project that I was going to do.  The one he laughed at.  
HA!!
Pinterest is pretty awesome.  

He keeps trying to say he got the info from googling it not from pinterest, but we all know we wouldn't have pots on our porch if I hadn't found it on pinterest.  

Thanks babe, for making them!!

He bought a bag of concrete that costs about $6.  Not quite sure exactly which one he used.  It wasn't the cheapest.  He had never used the type of concrete he bought, but he thought it might work better because it seemed like it wouldn't be as rocky as the cheapest bag of concrete.  
He didn't really like the way it mixed up, but I think the pots came out great.  After making them, he thought the cheapest bag would probably work also.  Next time.

He used vegetable oil to oil up the containers and buckets to keep them from sticking to the concrete and for easy release.  Some of them didn't get oiled enough because they were hard to remove afterwards.  He also found that any little ridge in the container or bucket will make it difficult to remove.  Only a couple did not work out because they broke when he was trying to remove the containers.  So if you want to try this out, OIL UP!!
Generously oil!


I really love how they turned out!
We need to make more.

Thursday, January 17, 2013

Cardboard Village - Cereal box houses

 So this is a little project that we did a while back over Christmas break.  
We made our own little winter village.  
This was a great afternoon project for the kids.  It does take a little time and for the most part I did most of the assembling of the houses and the kids painted and decorated them. 
This is how we made them.  
(I didn't take any picture while we made them but it's pretty easy to figure out by looking at the finished houses.) 

Supplies needed:
cardboard - cereal boxes, any small cardboard box
scissors
tape
and any supplies to decorate
paint, markers, patterned paper, fabric, washi tape...

 We pretty much made all of our houses out of cut up cereal boxes, except for one house which we made out of a powered sugar box.
1. I cut long strips and folded it into a square or rectangular box. I made the inside of the cereal box the outside of the houses so that it was a little more of a clean slate to work with, but any way works. It will open on top and bottom.
2. Tape it on the inside.  I knew we weren't keeping them too long so I didn't get too crazy with the tape.  The kids were helping at this point with the taping.  They LOVE tape.
3. Now cut the roof line.  Two ends should have the peak of the roof and two sides should be cut down for the sides of the house.
4. Tape from the inside.
5. We also added little chimney.  Again make a square and tape.  Cut to fit roof line.
6. Tape.  Done!

You can make them different shapes and sizes.  I was going to add little shutters for the windows and cut open the doors, but the kids wanted to jump into the painting.

Oh and I can't forget Ella's idea about putting a cotton ball in the chimney for smoke.  
I want to do this again and decorate my own.  

Monday, June 18, 2012

canning

we wanted to start a little earlier in the year to stock up on some jam, so my friend Christy and I had an all day canning party.  
it's a party when you have 3 kids running around and one baby boy watching us, right?
the kids had fun squishing up the blackberries and of course eating them. 

we started out wanting to just make some jam, but we thought we would kick it up a notch and can some salsa and pickle some jalapenos also.  
love the jalapenos.  
we have been eating those almost daily.

can't wait for our next canning party...we might have to have the grandma's help out with the kiddos a little so we don't burn anything, ha, ha.

Friday, May 11, 2012

DIY: rug bag


today i am super honored to be doing a little guest post over on Mandi's blog Make it Dear.

i am sharing a little tutorial on this rug bag.
a while back i bought a bunch of Ikea rugs after i saw a picture on craftgawkers of small area rugs sewn together to make a large area rug.  clever right?  well i bought 6 and only ended up only hand sewing 3 together.  a couple of weeks ago i made a bag out of one for a friend's birthday.  i loved the fringe end and couldn't help make one for myself.

go check it out and browse around Mandi's blog.

have a great Friday!!


Thursday, May 10, 2012

jasmine crown

 a while back i had told ella we would make her a flower crown after she saw a picture of one i posted a while back.  we bought the supplies but we still have not got around to making it.

last weekend andy was moving one of our vines and a piece of the jasmine vine broke off.
this little miss decided she would make her own flower crown...


i love what she did with it!!

Tuesday, February 28, 2012

TOMS love!!

 WOW, you would never guess these are her favorite shoes, right?
She loves these shoes and before I go get some more, I'm going to try this genius trick out and see if we can get just a little more use out of them.
I'll let you know how it turns out.

Thursday, February 23, 2012

Painted Branches


 I saw these painted pieces of wood and I loved them.

I knew they would be the perfect little project to do with the kiddos.
I didn't have any driftwood but I did have a bunch of twigs I had been saving for just this type of project.

I'm not sure what we are going to do with them but for now they are hanging out in a glass jar and adding a little splash of color.