
 These are the type of toys I love.
 Toys that are simple and that stimulate creativity.
Nail boards similar to this one are sold at school supply stores but if you want a little DIY project that is fairly simple to make, here is how I made this one.  Find a board any size and shape. Mine is about 7 in. X 13 in. and about 3/4 in. thick. This was the first piece of scrape wood I found so I used it. It might be fun to have a different shape other than a rectangle. Painting the board would also brighten it up a little. I found this ball of colored rubber bands at an office supply store so I just left the board unfinished.
Find a board any size and shape. Mine is about 7 in. X 13 in. and about 3/4 in. thick. This was the first piece of scrape wood I found so I used it. It might be fun to have a different shape other than a rectangle. Painting the board would also brighten it up a little. I found this ball of colored rubber bands at an office supply store so I just left the board unfinished.
First, I lightly sanded the edges.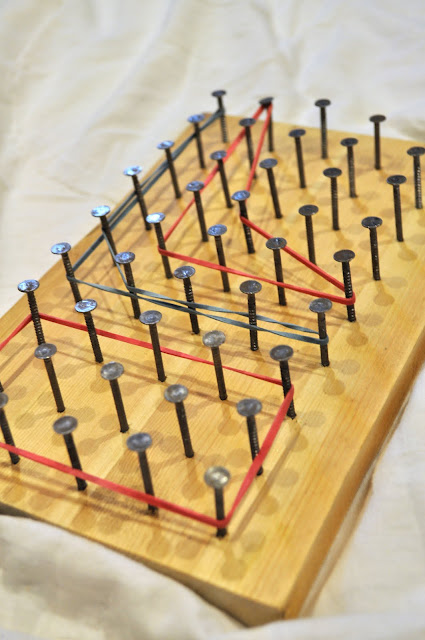
Next I used a ruler and marked off where I would put my nails spacing them 1 inch apart and making straight rows.
 Pre-drill the holes with a drill bit that is a little smaller in diameter than the nails you will be using to make it easier to nail your nails in. Make sure you are drilling straight in so that your nails won't be crooked when you nail them in.
If you don't have a drill you can probably just nail them in. Using a softer wood such as pine and using nails with a small diameter would make the job a lot easier also.

Lastly, I nailed my nail in so that they are all about the same height. I let the kids help nail the nails in once I got them started. They love using any type of tool.
 Now it's time to let the kids get creative.
E & J have fun making shapes, letters and just putting as many rubber bands on as they can.
They found that shooting rubber bands can be pretty fun also, so watch out!
No comments:
Post a Comment
Thanks for stopping by!